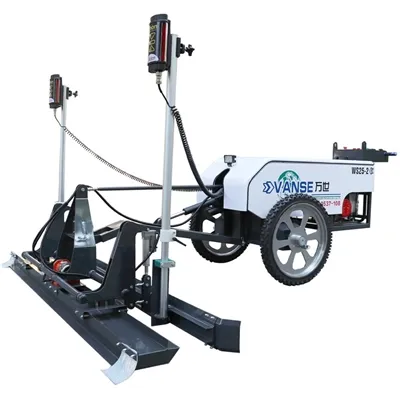
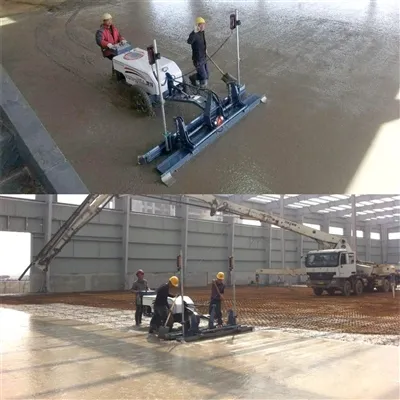
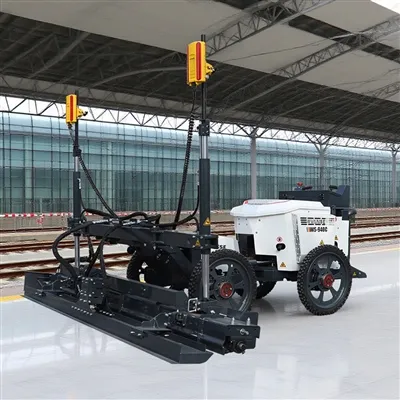
Can artificially prolong the service life of laser leveling machine?
April 6, 2023
Can artificially prolong the service life of laser leveling machine?
Can artificially prolong the service life of laser leveling machine? 7
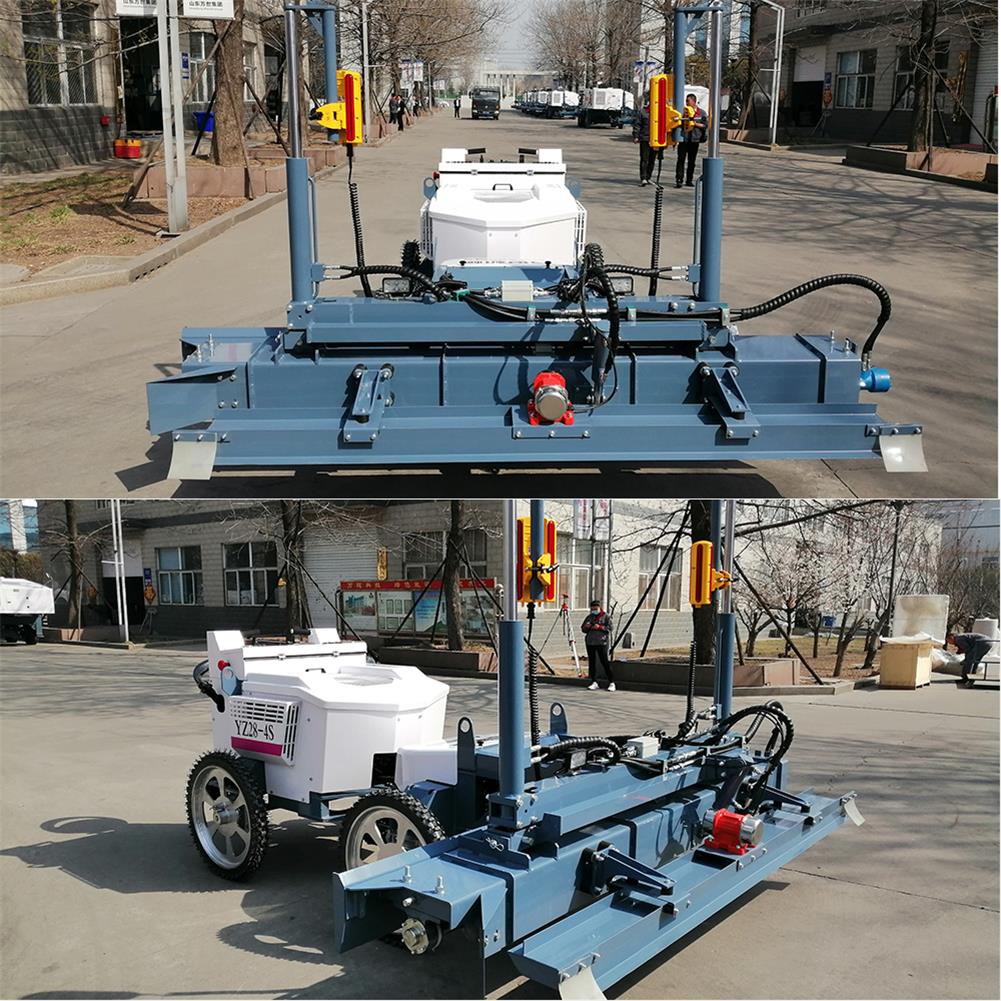
In many dangerous places, we can use laser leveling machines instead of manual paving, which undoubtedly reduces the risk of work, but mechanical products also have a certain service life. If they are not well maintained, the service life of the equipment will be greatly reduced. Therefore, the equipment needs to be cleaned and lubricated after use. After all, precise maintenance can increase the service life of the equipment to a certain extent.
Can artificially prolong the service life of laser leveling machine? 8
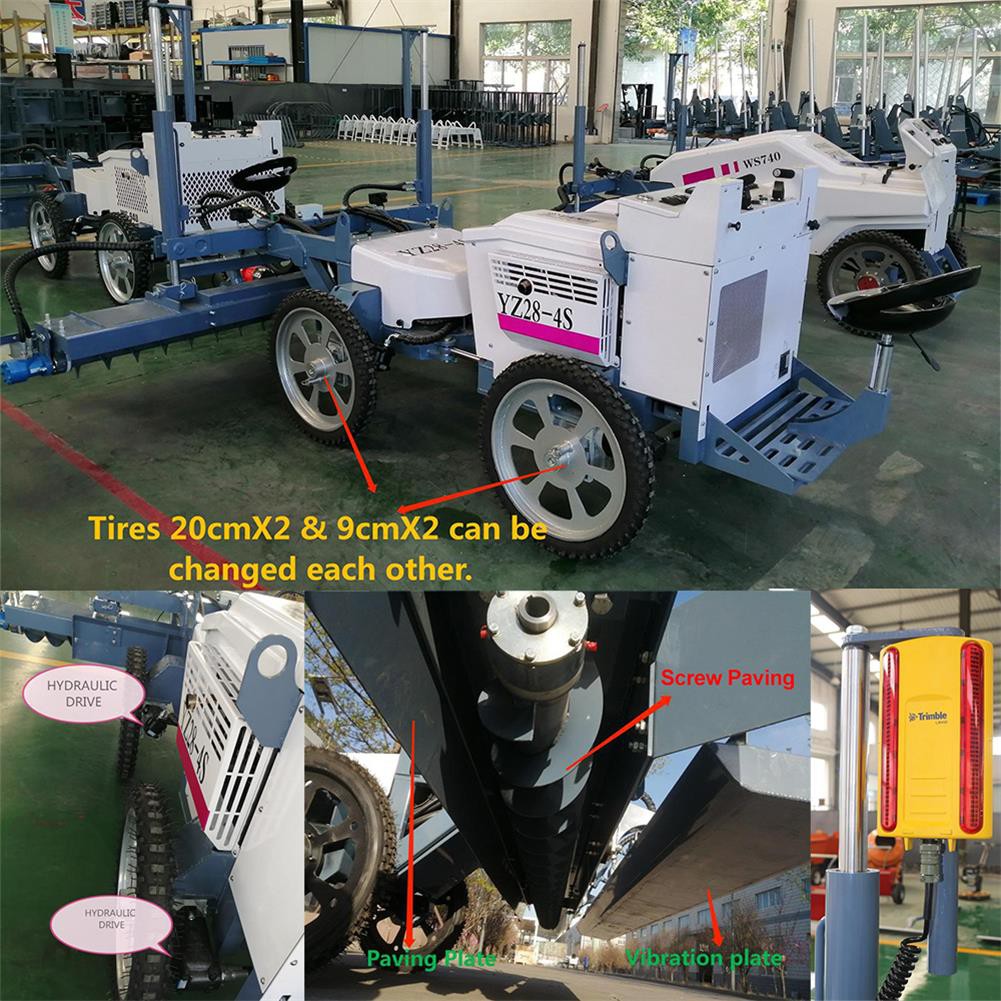
1. After the work is completed, please use the arm lift button to manually lift the machine head, and then push it out of the construction site. It is forbidden to push the machine when the vibrating leveling part is in contact with the ground to avoid damage to the vibrating plate.
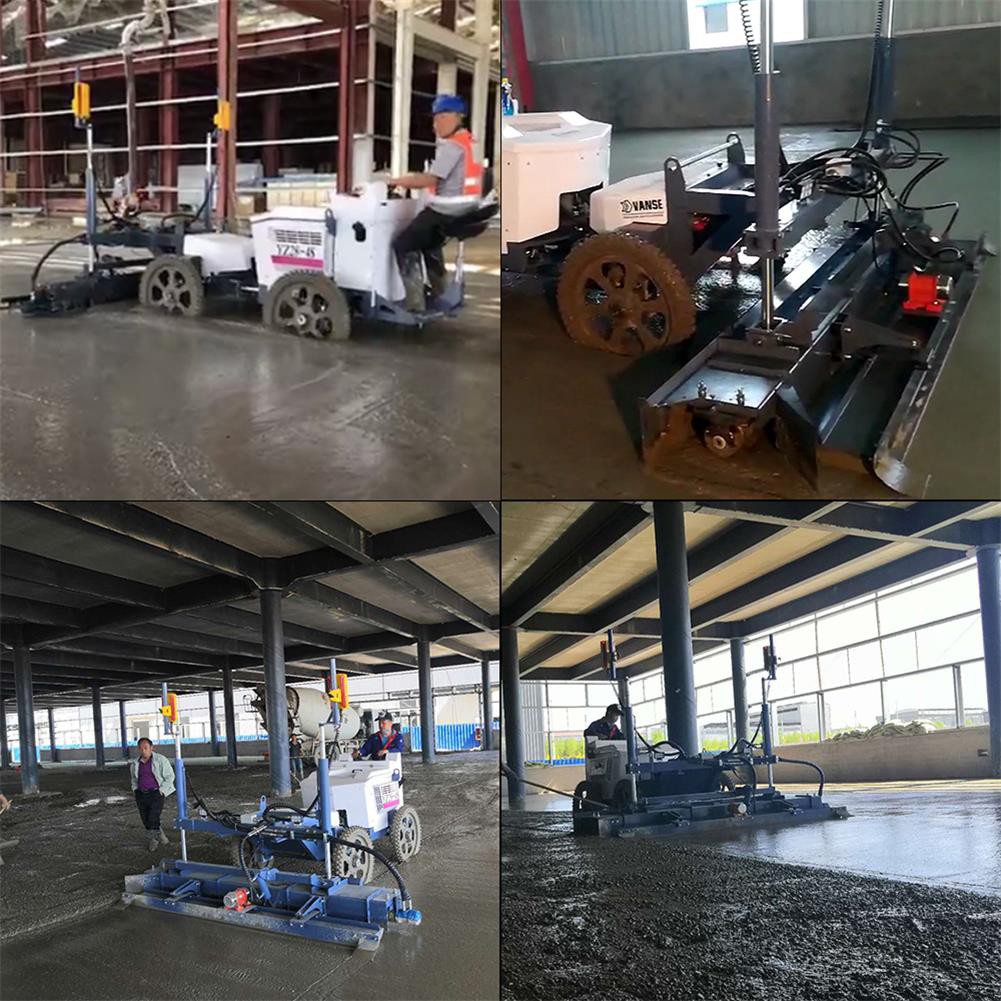
2. After the construction is completed, it is necessary to rinse the machine with a high-pressure water gun in time (it is strictly forbidden to flush the water gun directly at the mesh part of the fuselage, so as to prevent water from entering the inside of the fuselage and causing short circuits, etc.).
Can artificially prolong the service life of laser leveling machine? 9
3. The place where the machine is placed must be kept dry, and sundries and flammable and explosive materials must not be piled up around.
4. The battery of the machine also needs to be paid attention to. If it is not used together for a long time, make sure to remove all batteries from the host and receiver and store them properly. The transmitter comes with a rechargeable battery with a charging time of eight hours
Can artificially prolong the service life of laser leveling machine? 10
5. During the use of the machine, please try to charge the battery after the battery is fully used. When charging, try to ensure that it is fully charged for 8 hours at a time. The recommended charging time is 12 hours for the first time, and 8 hours for subsequent charging. In order to avoid damage to the battery and the transmitter, please unplug the power plug in time after it is fully charged.
6. If the laser signal is lost during the construction process and the machine needs to be restarted, the interval should be more than ten seconds.
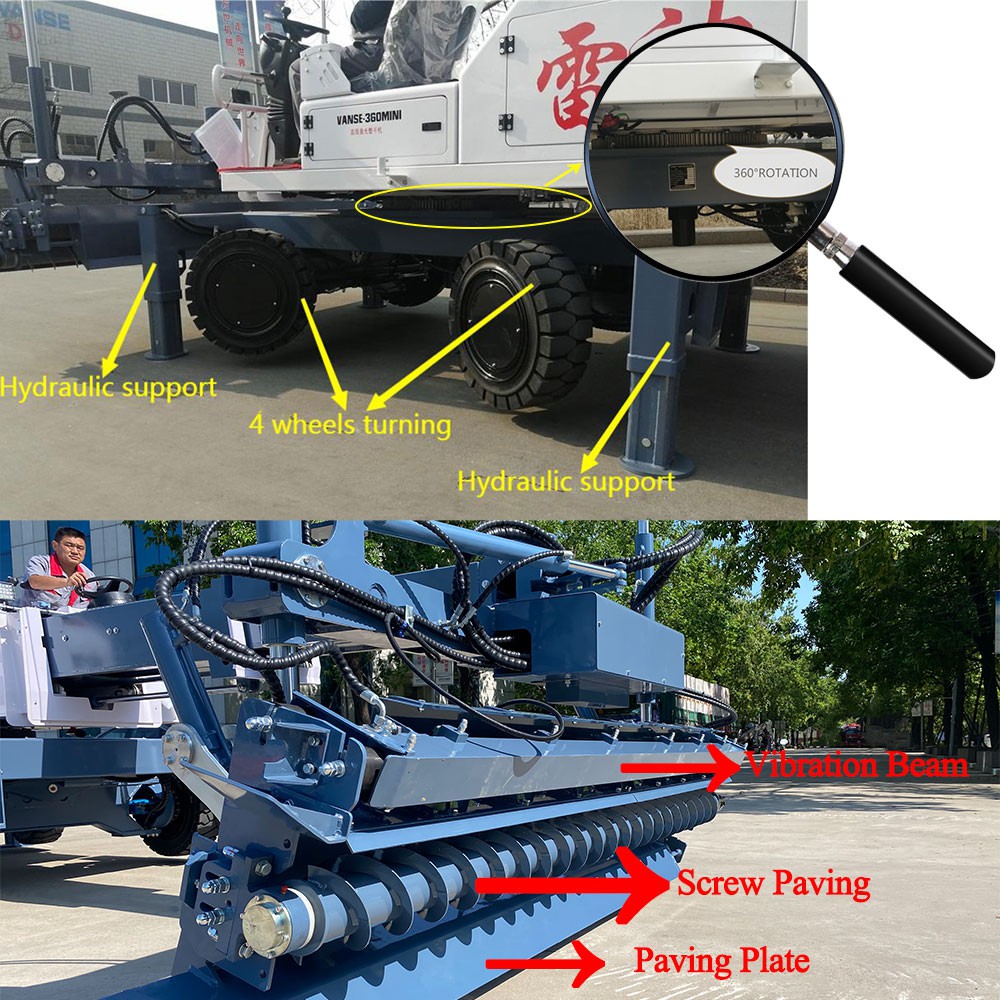
7. If the machine is placed on a stable ground when it is not used for a long time, lubricating grease should be added to each bearing part once a week, and lubricating oil should also be added to each chain to maintain good lubrication. At the same time, attention should be paid to avoid sand and other sundries. chain to prevent premature chain failure. Generally, at the end of one month or every construction period, the machine should be fully inspected and maintained once. Always pay attention to the tightness of the V-belt and the chain, adjust it in time if it is too loose, and adjust the fastening bolts frequently to prevent loosening.
Can artificially prolong the service life of laser leveling machine? 11
During the construction process of the concrete laser leveling machine, the timely detection and repair of various faults and defects of the machine is the basic guarantee for the efficient operation of the machine and the extension of the service life. It is of great significance to improve the production efficiency of the leveling machine and reduce the cost of use and maintenance.
Can artificially prolong the service life of laser leveling machine? 12
About the Author: Shandong Vanse Machinery Technology Co., Ltd.


Shandong Vanse Machinery Technology Co., Ltd. is a high-tech manufacturer specializing in concrete construction machinery, including laser screeds and related equipment. The company integrates R&D, production, and global sales, with products exported to over 60 countries and widely used in infrastructure projects worldwide.

Common faults and solutions of the concrete laser leveling machine
Concrete laser levelers are prone to various malfunctions during long-term, high-intensity operations due to wear, improper operation, or inadequate maintenance. Promptly troubleshooting and resolving faults can prevent extended downtime, reduced construction efficiency, and even equipment damage. The following are common fault types, cause analysis, and solutions: The laser system is the core of leveling accuracy, and its failure directly impacts construction quality. Common problems include: Failure Symptoms: Frequent alarms and flickering indicators on the laser receiver, large deviations in leveling accuracy, and inability to automatically level properly. Common Causes: Laser transmitter battery is low, battery contact is poor, or the transmitter is faulty. Laser receiver lens is contaminated (dust, concrete debris), damaged, or has reduced sensitivity. Environmental interference (such as strong direct sunlight, interference from other nearby laser equipment, or obstacles blocking the signal). Laser transmitter is uncalibrated, resulting in leveling accuracy deviation; or the receiver is loosely mounted or misaligned. Solution: Check the laser transmitter battery level and replace with new batteries. Clean the battery contacts to ensure proper contact. If the transmitter is damaged, repair or replace it. Clean the receiver lens with a soft cloth to remove any stains. If the lens is damaged, replace the receiver lens or the entire assembly. Avoid working in bright sunlight, turn off any interfering equipment, and remove any obstructions (such as rebar or formwork) in the signal path. Recalibrate the laser transmitter's level (using a level). Tighten the receiver mounting bolts until they are properly positioned and secure. Symptom: The laser transmitter does not power on, the receiver indicator light is off, and the device cannot enter automatic leveling mode. Common causes: The laser transmitter power switch is damaged, the battery is exhausted, or the battery compartment is poorly connected. The receiver wiring harness is broken, the plug is loose, or the terminal block is oxidized. The laser module fuse in the control system is blown, or the control board is faulty. Solution: Check the transmitter power switch, replace the batteries, and clean the battery compartment. If the switch is damaged, repair or replace the transmitter. Check the receiver wiring harness for damage, reconnect the plug, and clean the terminals (you can wipe with alcohol). Replace any broken wiring harnesses. Check the corresponding fuse in the control box. If it is blown, replace it with a fuse of the same specification. If the fuse repeatedly blows, check for a short circuit and repair or replace the control board if necessary. The hydraulic system is responsible for driving travel, leveling mechanism lifting and lowering, and vibrating. Failure can lead to reduced equipment performance. Common problems are as follows: Failure symptoms: Slow travel speed, inability to raise or lower the leveling baseplate, and decreased vibration frequency. Common causes: The hydraulic oil tank oil level is too low, the hydraulic oil type is incorrect, or the oil is contaminated (air, moisture, or impurities are mixed in). Severe wear of the hydraulic pump, increasing internal leakage; or the hydraulic pump drive belt is slipping or broken. Clogged hydraulic lines and leaking joints lead to pressure loss; or the overflow valve or pressure reducing valve is faulty, causing pressure regulation failure. Aging or damage to the hydraulic cylinder seals can cause internal or external leakage. Solution: Refill with the same type of hydraulic oil to the standard level. If the oil is contaminated, completely replace the hydraulic oil and filter, and clean the oil tank. Check the tension of the hydraulic pump drive belt and replace any slipping or broken belts. If the hydraulic pump is worn, repair or replace it. Check the hydraulic lines, clear any blockages, and replace seals at leaking joints; calibrate or replace faulty relief and pressure-reducing valves. Disassemble the hydraulic cylinder and replace any aging seals. If the cylinder barrel or piston rod is scratched, repair or replace the cylinder. Symptom: The hydraulic oil temperature exceeds 60°C during operation (some equipment may trigger an alarm), accompanied by jerking movements and increased noise. Common Causes: Radiator surface blockage (dust, concrete debris), reducing heat dissipation efficiency; or cooling fan failure (motor damage, broken belt). Excessive hydraulic system pressure, resulting in prolonged overflow of the relief valve and heat generation; or inappropriate hydraulic oil viscosity (using low-viscosity oil in summer and high-viscosity oil in winter). Improper hydraulic piping layout, excessively long or with numerous bends, increasing fluid resistance; or severe internal leakage in hydraulic components, generating excessive heat. Solution: Use a high-pressure water jet to clean the radiator surface and remove any blockages. Inspect the cooling fan and replace any damaged motor or belt to ensure proper fan operation. Recalibrate the relief valve pressure to the standard value (refer to the equipment manual); replace the hydraulic oil with a viscosity appropriate for the ambient temperature. Inspect the hydraulic lines and replace any excessively bent or aged lines. Repair or replace any components, such as the hydraulic pump and cylinder, that are leaking severely. Symptoms: Oil leakage or dripping from hydraulic line joints; a high-frequency whine emanating from the hydraulic pump or lines. Common Causes: Deterioration or damage of joint seals, or loose, undertightened joints. Vibration and friction leading to damage or cracks in the lines; or loosening of the pipe securing clips, causing the lines to shake and collide. Air mixing with the hydraulic oil causes cavitation, leading to abnormal noise in the pump or lines. Solution: Tighten any loose joints and replace any aged seals (such as O-rings or combination gaskets). If the joint threads are damaged, replace the joint. Repair or replace any damaged lines and re-secure any loose pipe clips to prevent vibration and friction. Check the hydraulic oil tank level and add hydraulic oil to remove air. Loosen the hydraulic pump outlet pipe to vent air, or start the machine and run it at no load to vent air until the abnormal noise disappears. The engine is the power source of the machine. Failure can cause the machine to fail to start or interrupt operation. Common problems include: Failure Symptom: The starter motor operates normally, but the engine fails to start; or it stalls automatically within a few seconds after starting. Common Causes: Insufficient fuel supply: Low fuel tank level, clogged fuel filter, or leaking or clogged fuel lines. Intake System Failure: Severely clogged air filter, resulting in insufficient air intake; or air leak in the intake manifold. Ignition System Problem (Gasoline Engine): Carbon deposits on or damage to the spark plug, or a faulty ignition coil. Diesel Engine: Clogged fuel injectors, insufficient injection pressure, or a preheating system malfunction (in low temperatures). Solution: Add fuel and replace any clogged fuel filters. Check the fuel lines, eliminate leaks, and clear any clogged lines. Clean or replace the air filter element; check the intake manifold for tightness and repair leaks. Clean carbon deposits from the spark plugs and replace damaged spark plugs or ignition coils (for gasoline engines). Clean or replace the fuel injectors and calibrate the injection pressure; check the glow plugs or glow controller and repair the glow system (for diesel engines). Symptoms: Metallic knocking and unusual noises are heard during engine operation; insufficient power is present during operation and cannot meet the load requirements. Common Causes: Low oil level or deteriorating oil quality, resulting in poor lubrication and increased component wear (such as unusual noises on bearings and valve tappets). Poor fuel quality, leading to injector blockage, incomplete combustion, detonation, or black smoke. Insufficient cylinder compression pressure (worn piston rings, poor valve seals), or turbocharger malfunction (for supercharged engines). Cooling system malfunction, engine overheating, resulting in power loss. Solution: Replace the engine oil and oil filter, and refill the oil to the standard level. If components are severely worn, disassemble the engine for repair. Replace high-quality fuel, clean the injectors and fuel lines, and add fuel additives to improve combustion. Check cylinder compression pressure, replace worn piston rings, or repair valve seals; repair or replace the turbocharger. Clean the radiator, check the coolant level, and check the water pump to ensure proper operation of the cooling system. Mechanical structures are directly involved in concrete leveling operations, and failures can easily lead to reduced construction quality. Common problems include the following: Symptoms: Grinding or jerking noises during travel; the machine veers off course, or its speed fluctuates. Common Causes: Worn travel drive chain/gears, insufficient tension, or poor chain lubrication. Uneven wear of travel wheels/tracks, or improper track tension (for tracked equipment). Damaged drive shaft bearings or differential failure (for wheeled equipment). Solution: Adjust chain tension and add grease; replace severely worn chains or gears. Check wheel/track wear and replace worn parts; adjust track tension to standard. Replace damaged drive shaft bearings; repair or replace the differential. Symptoms: Vibrator inoperative or insufficient frequency; scraper deformation or lifting and jamming. Common causes: Vibrator motor failure, hydraulic motor failure, or vibrator shaft jam (concrete debris accumulation). Scraper mounting bolts loose, structural deformation, or lift hydraulic cylinder failure. Worn or insufficiently lubricated pins connecting the leveling mechanism to the machine body, causing lifting and jamming. Solution: Clean concrete debris from the vibrator, repair or replace the motor/hydraulic motor; inspect the vibrator shaft and replace worn parts. Tighten scraper bolts and correct deformation of the scraper; repair or replace the lift hydraulic cylinder. Lubricate the connecting pins and replace severely worn pins and bushings. The electrical system control equipment components work together, and malfunctions can easily lead to operational failures. Common problems are as follows: Symptom: No response when the button is pressed, and the indicator light is off, permanently on, or flashing abnormally. Common Causes: Oxidation or damage to the button contacts, or loose or poor contact in the wiring harness connector. Control panel power failure or damage to control panel components (such as burnt relays or capacitors). Corresponding actuator failure (such as solenoid valves or motors), resulting in abnormal control system feedback. Solution: Clean the button contacts and replace damaged buttons; reconnect the wiring harness connector and tighten the terminals. Check the control panel power supply voltage and replace any burned components. If the control panel is damaged, repair or replace it. Investigate the actuator components and replace the faulty solenoid valve or motor. Fault Symptom: After pressing the emergency stop button, the equipment does not shut down immediately, posing a safety hazard. Common Causes: Internal contacts of the emergency stop button are sticking or damaged, or wiring is loose or disconnected. A faulty relay in the emergency stop circuit prevents power from being cut off. Solution: Replace the damaged emergency stop button and reconnect any loose wiring. Inspect the emergency stop circuit relay and repair or replace the faulty relay to ensure proper circuit disconnection. Simple first, then complex: Prioritize easily observable and accessible areas (such as oil level, connectors, and cleanliness), then delve deeper into internal components. Electrical first, then mechanical: If a malfunction occurs, first check the electrical controls (buttons, wiring harness, sensors), then the mechanical and hydraulic components. Use the equipment manual: Refer to the fault code table in the equipment manual (if available) to quickly locate the source of the fault. Strictly adhere to the daily maintenance schedule and regularly clean, lubricate, and inspect key components to prevent minor issues from becoming major problems. Operators must adhere to standardized procedures to avoid overloading and rough handling, minimizing abnormal equipment wear. A fault log should be established to analyze the causes of frequent faults and optimize maintenance cycles or operating procedures. The above methods can quickly resolve common concrete laser leveling faults, ensuring continuous and stable operation and improving construction efficiency and quality. For complex faults (such as engine overhaul or hydraulic pump replacement), it is recommended to contact professional maintenance personnel or manufacturer technical support. ARMOUR JOINT CONCRETE LASER LEVELING MACHINE POWER TROWEL TOPPING SPREADER
Read More
November 3, 2022
The maintenance of the five parts of the laser leveling machine is very important
The maintenance of the five parts of the laser leveling machine is very important Laser leveling machine is also called laser paver or paving leveling machine. The name is different for each place. It is mainly a kind of reference plane based on the laser emitted by the transmitter, which can achieve high-precision and rapid concrete leveling. device of. While it is convenient to use, we must also remember to maintain it. The maintenance of the five parts of the laser tanning machine is very important, namely engine oil level, hydraulic oil level, water pump oil level, engine oil replacement, and hydraulic oil replacement. Talk about it. 1. Check the oil level of the engine oil: the machine is on a horizontal plane. After stopping the engine for 2-3 minutes, remove and clean the oil dipstick. The oil level should be at the hole (upper limit) position of the dipstick. 2. Check the hydraulic oil level: put the machine in a horizontal position, stop the engine and open the seat assembly. Illuminate the hydraulic oil level gauge next to the valve set with a flashlight, check the oil level from the front panel pane of the machine, and the oil level at 3 is suitable. 3, check the pump oil level: the machine in a horizontal position, stop the engine. Open the cover of the machine's electrical box and irradiate the oil level window of the water pump with a flashlight to check the oil level. The lubricating oil should be in the center of the window. 4. Change the engine oil: stop the machine on the slope, with the front high and the back low. Stop the engine and remove the oil drain wire at the back of the machine to release the oil. Drain the oil and reinstall the drain wire plug. Open the engine oil filling cap and readd the recommended oil to the upper limit position of the oil gauge (no oil change filter is about 1.5L; Oil filter replacement is about 1.7L). Replace the oil gauge and oil filling cap. When the engine is warm, change the oil quickly and thoroughly. If the oil is seriously contaminated, flush the machine with fresh oil. 5. Replace hydraulic oil: Hydraulic oil should be replaced regularly to prevent damage to hydraulic components. When the hydraulic oil to the service life, the chemical additives in the hydraulic protection will be reduced, the efficiency of the hydraulic oil will also be reduced. Therefore, regularly replace as much new oil as possible. It is also impractical to replace all the hydraulic fluids in the system because the hydraulic fluids in many components of the system cannot be completely replaced.
Read More
March 4, 2026
How to operate concrete topping spreaders on uneven base layers without affecting material distribution accurac
Operating a topping spreader (typically used for dry-shake hardeners) on a fresh, uneven base layer is like trying to paint a straight line while walking on a waterbed. Because the spreader relies on a consistent "drop height" and "travel speed" to hit your target application rate (e.g., 5kg/㎡), any dip or tilt in the base layer can lead to patchy distribution and a structurally inconsistent wear layer. Here is how to maintain precision when the ground beneath you isn't cooperating. The most effective way to handle an uneven base is to avoid driving on it entirely. * How it works: Large-scale spreaders use a telescopic boom that extends over the fresh concrete. The Advantage: Since the machine's tracks or wheels stay on the stable, leveled subgrade or the previously poured (and hardened) lane, the "head" of the spreader remains perfectly level regardless of the "hills and valleys" in the wet concrete. Accuracy: This setup allows for a computer-controlled discharge rate that is decoupled from the unevenness of the wet slab. If you are using a spreader that must travel on the fresh concrete (like a walk-behind or a ride-on), your accuracy depends on Variable Rate Control. The Problem: When a spreader hits a "low spot" or soft patch, the wheels often slip or the operator slows down. If the hopper continues to drop material at a fixed rate, you end up with a "heavy" pile in the low spot. The Fix: Modern spreaders use encoders on the wheels. If the machine slows down due to the uneven terrain, the computer automatically slows the discharge rotor. Pro Tip: If your machine isn't automated, the operator must consciously "feather" the discharge trigger as they navigate difficult patches to avoid material "slugs." On high-tolerance projects with uneven bases, never try to drop the full amount of topping in a single pass. The 50/50 Rule: Apply 50% of the material in one direction (e.g., North-South) and the remaining 50% in the perpendicular direction (East-West). The Benefit: This cross-hatching pattern naturally "averages out" any distribution errors caused by the spreader tilting or surging over uneven spots. It ensures that even if one pass was slightly "light" due to a bump, the second pass will likely compensate for it. Accuracy starts before the spreader arrives. The laser Leveling must be used to create a "flat-enough" surface for the spreader to navigate. Strategy Action Result Initial Strike-off Laser Leveling makes a fast, leveling pass. Provides a consistent "bed" for the topping. Wait Time Allow the "bleed water" to disappear. Firms up the base so the spreader doesn't sink/bog down. Mechanical Integration Attach the spreader head to the laser Leveling (if compatible). Uses the laser's elevation accuracy to drop material at a precise height. The Solution: Use low-pressure flotation tires or wide tracks to spread the weight of the machine. Immediate Follow-up: A bull float or a "highway straightedge" must follow the spreader immediately to "knit" the topping into the base and erase the tracks before the material begins to hydrate. Technical Warning: If you are using metallic dry-shakes, distribution accuracy is even more critical. "Clumps" of metallic topping caused by uneven spreading can lead to localized delamination because the topping won't have enough moisture from the base slab to hydrate properly. Would you like me to detail the "Wash-out" test used to verify if your spreader is actually hitting the kg/㎡ target across the entire floor? Slump Consistency: If the concrete slump varies by even 1 inch (e.g., from a 5-inch slump to a 6-inch slump), the vibratory Leveling will "sink" differently. For Superflat results, the concrete must be identical truck-to-truck. Head-to-Head Overlap: When using a handheld vibratory Leveling, ensure each pass overlaps the previous one by 20–30%. This "erases" the line between passes. Would you like a list of the specific F-number tolerances required for "Category 1" VNA (Very Narrow Aisle) floors versus standard warehouse floors?. Contact us NOW Note: The parameters provided in this document are for reference only and are not mandatory. Due to differences in technical characteristics between different brands and models of laser levelers, please consult the manufacturer for a suitable solution before actual operation. This reference document assumes no responsibility for any issues arising from failure to follow the manufacturer's instructions.