Technical Knowledge
Compaction Degree of Sub-base in Superflat Floors and Its Impact on Final Flatness
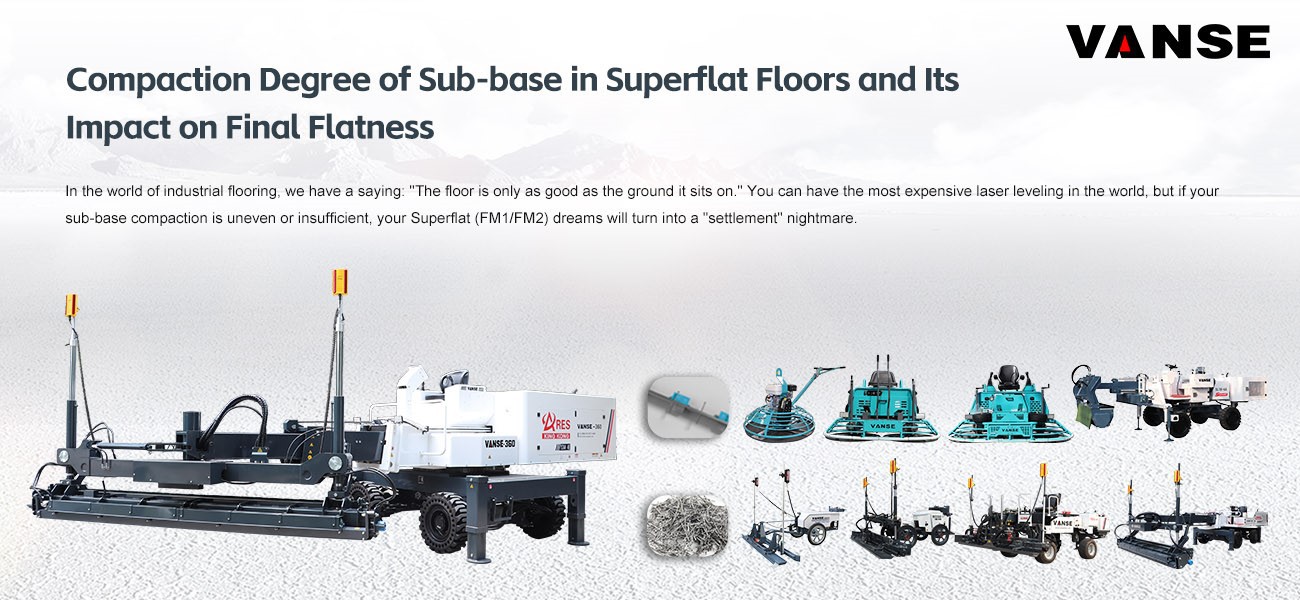
In the world of industrial flooring, we have a saying: "The floor is only as good as the ground it sits on." You can have the most expensive laser leveling in the world, but if your sub-base compaction is uneven or insufficient, your Superflat (FM1/FM2) dreams will turn into a "settlement" nightmare.
If you’re a contractor or facility owner, understanding the link between sub-base compaction degree and final flatness (FF/FL numbers) is critical. Here’s a professional breakdown of how to get the foundation right, featuring the technical workflow from Vanse Machinery.
1. The "Anvil Effect": Why Compaction is the Starting Line
Think of the sub-base as an anvil. When you use a Power Trowel to densify the concrete, the concrete is being compressed between the blades and the sub-base. If the sub-base has "soft spots" (low compaction degree), the slab will deflect under the weight of the machines and the concrete itself.
The Impact: Even a 2mm settlement in the sub-base during the pour can tank your FL (Levelness) scores. This is why a compaction degree of at least 95% to 98% Proctor density is usually the standard for high-spec warehouses.
2. Moving Material Without Creating "Ruts"
A common mistake is compacting the sub-base perfectly, then driving heavy concrete trucks over it, creating deep ruts that ruin the uniformity.
The Vanse Solution: Instead of heavy trucks, pro contractors use a Vanse Concrete Distributor or the Vanse Mini Dumper. These machines are designed to be agile. The Vanse Mini Dumper (available in electric or gasoline) allows you to move concrete to the exact spot without the massive point-load of a transit mixer, preserving the integrity of your compacted sub-grade.
3. Laser leveling on "Sensitive" Ground
Even with good compaction, the weight of a leveling machine can sometimes cause micro-movements in the sub-base.
The Vanse Solution: This is where the Vanse YZ30-4E Telescopic Boomed Laser leveling is a game-changer. Unlike traditional "drive-in" leveling, the telescopic boom allows the leveling head to reach out 6 meters while the machine stays stationary. This minimizes the "footprint" on the compacted sub-base, ensuring that the laser-accurate strike-off is based on a stable reference point, not a moving one.
4. Surface Density & Long-term Flatness
If the sub-base isn't uniform, the concrete will cure at different rates, leading to "curling" at the joints-the #1 enemy of long-term flatness.
The Vanse Solution:
Use a Vanse Automatic Topping Spreader to apply hardener uniformly. This ensures the "skin" of the concrete is as tough as the base.
Follow up with a Vanse VS1046H Ride-on Power Trowel. The high-torque 35HP BRIGGS & STRATTON engine provides the force needed to "burnish" the floor. If your sub-base is solid, this troweling process creates a rock-hard, Superflat surface that won't shift over time.
Finally, protect those joints with a precision Vanse Concrete Cutting Machine (Floor Saw) to ensure stress is relieved exactly where it should be.
Summary: The ROI of Proper Sub-base Prep
| Factor | Poor Compaction Result | Vanse-Enabled Professional Result |
| FF/FL Scores | Fails due to micro-settlement. | Hits FM1/FM2 consistently. |
| Joint Health | Spalling and curling. | Clean, stable transitions with Floor Saws. |
| Labor Cost | High (due to rework/grinding). | Low (Get it right the first time). |
| Equipment Performance | Machines "sink" or vibrate poorly. | Maximum precision with Telescopic leveling. |
Final Word
You can’t cheat the physics of a Superflat floor. Hitting ±1mm over 3 meters requires a solid sub-base and the world's most precise machinery. By combining the placement agility of the Mini Dumper with the telescopic reach of the Vanse Laser leveling (www.vansemac.com), you ensure that your floor stays flat from the day of the pour until decades of forklift traffic later.
Don't build on a weak foundation. Explore the full Vanse fleet today and see how our technology supports your highest-spec projects.
Note: The parameters provided in this document are for reference only and are not mandatory. Due to differences in technical characteristics between different brands and models of laser levelers, please consult the manufacturer for a suitable solution before actual operation. This reference document assumes no responsibility for any issues arising from failure to follow the manufacturer's instructions.
Thanks to All the Friends Who Support and Trust Shandong Vanse Machinery Technology Co., Ltd.
If you want to know more about Shandong Vanse Machinery Technology Co., Ltd. or have any questions, please feel free to contact us:
Our Factory
Shandong Vanse Machinery Technology Co., Ltd.








Share this article

About the Author: Shandong Vanse Machinery Technology Co., Ltd.
Shandong Vanse Machinery Technology Co., Ltd. is a high-tech manufacturer specializing in concrete construction machinery, including laser screeds and related equipment. The company integrates R&D, production, and global sales, with products exported to over 60 countries and widely used in infrastructure projects worldwide.
Previous Post
Next Post
Related Articles
You Might Also Like
A must-have for beginners: Laser leveling machine instruction manual
With the development of science and technology, laser leveling machines have become essential equipment for the construction industry such as road leveling. The equipment has high work efficiency and simple operation and is favored by users. However, for novices who do not often deal with the machinery industry, they do not know much about the use process and methods of laser leveling machines. Because of this, they often encounter problems during use. If you want to know how to use it specifically, don't miss the wonderful content below. After the base is processed, debug the laser leveling machine, and make a fixed reference leveling point based on the original leveling point; lay non-woven fabrics, support side molds, set up laser transmitters, and introduce the ground elevation into the laser leveling machine according to the original leveling point. Commercial concrete is used. Tankers transport commercial concrete to the entrance and exit of the car warehouse, and then transport it to the construction site with a three-wheel dump truck. Use a handheld laser receiver to check the floor elevation, introduce the elevation into the laser leveling machine, and adjust the reference point on the laser leveling machine. (1) After the formwork is set up, before pouring concrete, the warehouse should be cleaned and rinsed with water one day in advance. When pouring, drain the open water and sweep the cement slurry or interface agent. At this time, it is strictly forbidden to have obvious water accumulation. If there is, it must be removed resolutely before paving concrete. (2) After the concrete is put down, it should be initially flattened. The flattening height should be 3 cm higher than the elevation. Then use a laser leveling machine to level it. For corners that cannot be leveled, you can use a gasoline leveling ruler or manual scraping. (3) When pouring the warehouse near the wall, wait until the laser leveling machine passes by, and then use a scraper to level it in time. And so on. (4) When pouring the warehouse near the wall, wait until the laser leveling machine passes by, and then use a scraper to level it in time. And so on. For areas where concrete mixer trucks cannot be driven to the site, tractors should be used to transport concrete. After pouring, wait for the concrete to initially set before starting floor finishing construction. During the construction, the operator uses a handheld laser receiver to detect the ground after the machine is installed, and once again ensures that the flatness error is within the controllable range. In order to facilitate everyone to better understand and master, this article only briefly discusses the operation process of the laser leveling machine. Later, we will continue to explain other related content about the leveling machine. Interested friends can visit our official website at any time to inquire for more information.Can concrete topping spreaders handle different types of additives (e.g., color pigments, anti-slip agents) for floor projects
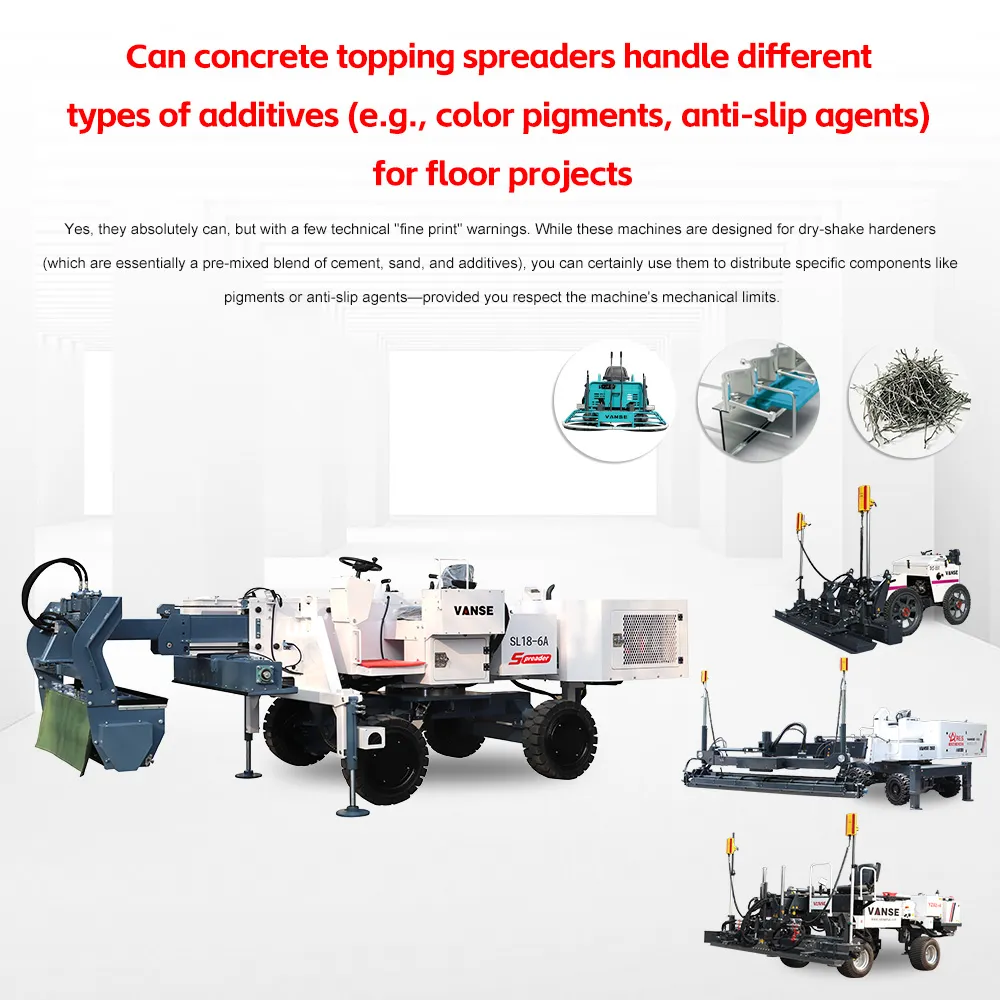
Yes, they absolutely can, but with a few technical "fine print" warnings. While these machines are designed for dry-shake hardeners (which are essentially a pre-mixed blend of cement, sand, and additives), you can certainly use them to distribute specific components like pigments or anti-slip agents-provided you respect the machine's mechanical limits. Here is how concrete topping spreaders handle various additives and the adjustments you need to make. Most "color" in industrial floors isn't pure pigment; it's a Color Hardener (pigment + cement + fine aggregate). The Spreader's Role: It is the only way to get a perfectly uniform color. Hand-tossing color usually results in "leopard spots." The Risk: Pure, raw pigment is often too fine (like flour). If you put pure pigment in a spreader, it may "bridge" (clump together) in the hopper and refuse to fall through the rotor. The Fix: Ensure the pigment is part of a engineered dry-shake mix. If you must use pure pigment, it should be blended with a carrier (like fine sand) to give it enough "weight" to flow through the machine. For loading docks or wet processing areas, you might spread Silicon Carbide or Aluminum Oxide. Handling: These materials are much denser and "grittier" than standard hardeners. Machine Wear: These are essentially sandpaper for your equipment. If you are running high volumes of anti-slip agents, you will notice accelerated wear on the rubber seals and the discharge rotor. Distribution: Because these grains are heavy, they drop very fast. You usually need to tighten the discharge gap on the spreader to prevent "dumping" too much material in one spot. Additive Type Material Examples Spreader Compatibility Key Challenge Metallic Aggregates Iron filings, steel grit Excellent High weight; requires heavy-duty motors. Anti-Slip Silicon Carbide, Quartz Good Highly abrasive; wears down internal parts. Reflective Glass beads, "Sparkle" grain Moderate Very fragile; can "crush" in the rotor. Pure Pigment Iron oxide powders Difficult Clumping and "dusting" (blown away by wind). If you are switching from a high-visibility color (like "Safety Red") to a standard grey hardener, a simple shake-out isn't enough. The Danger: Residual pigment trapped in the rotor corners will "bleed" into the next project for the first 100 feet. The Fix: Use a shop-vac and a stiff brush to clean the internal discharge vanes. Some operators run a "sacrificial" 25 kg bag of plain sand through the machine to scrub the pigment out before starting the next color. Additives like pure pigments are extremely hygroscopic (they suck moisture out of the air). If you leave specialized additives in the hopper during a lunch break or a rain delay, they can "cake" onto the rotor. The Rule: Only load what you are about to spread immediately. Not all additives weigh the same. 1 Liter of Steel Aggregate weighs much more than 1 Liter of Glass Beads. The Test: Before starting the actual floor, run a "10-foot test" on a piece of plastic or a dry section of the slab. Weigh the material dropped to ensure your kg/㎡ (or lb/ft^2) matches the project spec. Integrated Blends: Yes, flawlessly. This is what they are built for. Raw Abrasives: Yes, but expect higher maintenance on the machine. Fine Powders: No, unless blended with a carrier to improve flow. Pro Tip: When spreading reflective beads or very fine anti-slip grains, lower the discharge height of the spreader head as much as possible. Even a light breeze in a warehouse can blow 20% of your expensive additives away before they even hit the wet concrete. Would you like me to find the recommended "Drop Rates" (kg/㎡) for standard VS heavy-duty industrial wear layers? Contact us NOW Note: The parameters provided in this document are for reference only and are not mandatory. Due to differences in technical characteristics between different brands and models of laser levelers, please consult the manufacturer for a suitable solution before actual operation. This reference document assumes no responsibility for any issues arising from failure to follow the manufacturer's instructions.What inspection & maintenance work needs to be done before a long-idle concrete laser leveling machine is reactivated?
Before a concrete laser leveling machine that has been idle for a long time is reactivated, a systematic inspection should be carried out to eliminate potential faults (such as component rust, circuit aging, hydraulic jamming, etc.), and the equipment performance should be restored in combination with maintenance to avoid construction quality problems or safety accidents caused by component failure when it is reactivated. The following are the specific inspection and maintenance steps, which are disassembled according to the logic of "appearance → core system → auxiliary components → trial operation" First, inspect thex eterior of the equipment and its easily worn parts, with a focus on checking for physical damage, rust or loosening caused by long-term idleness. This is the foundation for ensuring subsequent system checks. Check whether the frame of the machine body, the leveling scraper and the vibration beam have any deformation or cracks (especially at the welding parts). If there is any slight deformation, it needs to be corrected. If there are cracks, they need to be repaired by welding and ground smooth. Check whether all exposed metal parts (such as bolts, pins, and connecting brackets) are rusted. Rusted areas should be cleaned with a wire brush and then coated with anti-rust oil. Severely rusted parts (such as pins that are stuck) need to be replaced. If it is a wheeled model: Check whether the tire pressure is normal (refer to the standard value in the equipment manual), whether there are cracks, bulges or foreign objects embedded in the tire surface, and whether the valve stems are leaking. If it is a tracked model: Check whether the track plate is excessively worn (the tread depth should be replaced if it is less than 1mm), whether the track tension is appropriate (press the middle section of the track with your hand, and the subsidence should be controlled within 10-15mm), and whether the track pin shaft is stuck (try to rotate it after injecting grease). Check whether the protective covers of the emergency stop button and the operating handle are intact. After the emergency stop button is pressed, it should be able to immediately cut off the power and start normally after resetting. Check whether the warning lights and buzzers are functioning properly (test after power-on), and whether the safety guardrails and anti-slip steps are firm, without any looseness or missing parts. The core performance of the laser leveling machine machine relies on the power system, hydraulic system and laser control system. It is necessary to check each internal potential hazard one by one to avoid "breaking down" or precision failure when it is put into use. Type Inspection items Maintenance measures Diesel engine 1. Oil level and quality If the engine oil is below the mark, it needs to be replenished (using the same type of engine oil). If it deteriorates (turns black or contains impurities), it should be completely replaced 2. Fuel tank and fuel quality 2. Drain the deteriorated diesel from the fuel tank, clean the tank and then add new diesel. Check if the fuel filter element is clogged (if it is clogged, it needs to be replaced). 3. Coolant level 3. If the coolant is insufficient, it needs to be replenished. (Mix the antifreeze in proportion and avoid adding tap water directly.) 4. Air filter element 4. Remove the air filter element and blow it clean in reverse with compressed air (if the filter element is damaged, it needs to be replaced). 5. Spark plugs/fuel injectors 5. Remove the spark plugs to clean the carbon deposits (if the gap is abnormal, adjust it). The fuel injectors need to be disassembled to check the atomization effect (if the atomization is poor, clean it). Electric motor 1. Motor housing and terminal blocks Clean the dust off the motor casing and check if the terminal blocks are loose or oxidized (oxidation should be sanded with sandpaper). 2. Carbon brushes (if any) When the carbon brush is worn down to one-third, it needs to be replaced to ensure good contact between the carbon brush and the commutator 3. Insulation resistance 3. Measure the insulation resistance with a megohmmeter. A resistance of ≥0.5MΩ is qualified (to avoid leakage). Long-term idleness of the hydraulic system is prone to deterioration of the oil and aging of the sealing parts, which requires special inspection: Hydraulic oil inspection: Open the oil tank cover and observe the color of the oil (normally light yellow. If it turns black or becomes turbid, it needs to be replaced) and the liquid level (it should be within the range of "MIN-MAX" on the oil gauge. If it is insufficient, add the same type of hydraulic oil). If the oil has been idle for more than six months, it is recommended to replace it even if its appearance is normal (the oil will oxidize and become ineffective). Leakage inspection: Check the hydraulic oil pipes, joints, and cylinders (especially the leveling cylinder and traveling cylinder) for any leakage marks. If leakage is found, replace the sealing parts or damaged oil pipes. The joint should be re-tightened according to the manual torque (to avoid over-tightening and damaging the thread). Maintenance of hydraulic components Clean the hydraulic oil filter element (if it is a paper filter element, replace it if it is clogged) to prevent impurities from entering the cylinder and causing wear. Manually push the piston rod of the oil cylinder to check for any jamming (if there is jamming, disassemble the oil cylinder to clean the internal impurities and refill the hydraulic oil). Before starting the equipment, manually rotate the coupling of the hydraulic pump to ensure there is no jamming (to avoid damage to the pump body). The laser system is the "eyes" of the leveling machine. When idle, it is prone to sensor moisture and poor circuit contact, and precise inspection is required Laser emitter Clean the dust off the transmitter lens (wipe it with a soft cloth to avoid scratches), and check the battery power (replace it if insufficient). Power on and test whether the transmitter can emit laser normally (the laser line should be uniform and free of flicker). If the laser is weak or there is no laser at all, check the internal circuit or replace the transmitter. Laser receiver Check whether the receiver probe is damaged or damp (if damp, it needs to be dried), and whether the terminal blocks are loose. Bring the receiver close to the transmitter to test if it can receive signals normally (the indicator light needs to switch normally according to the "high and low positions"). If the signal is unstable, the receiver needs to be calibrated (perform zero point calibration according to the steps in the equipment manual). Control circuit: Check whether the connection lines of the laser control system (from the receiver to the controller, and from the controller to the hydraulic valve) are damaged or aged. The line joints need to be re-plugged and unplugged to ensure good contact (to avoid signal interruption and accuracy deviation). Apart from the core system, minor issues with auxiliary components may also cause the equipment to fail to operate normally. Each one needs to be confirmed Check the battery level (measure the voltage with a multimeter. For a 12V battery, a voltage of ≥12.4V is normal. If it is insufficient, it needs to be charged; if it has been idle for more than 3 months, it needs to be charged before use to avoid battery depletion and scrapping). Clean the dust inside the distribution box, check whether the fuses are intact (replace the fuses of the same specification if they are blown), and whether the contacts of the relays and contactors are oxidized (if oxidized, sand them with sandpaper). Apply grease to the "lubrication points" marked in the equipment manual (such as walking bearings, scraper connection shafts, and laser receiver rotating shafts) (use lithium-based grease and avoid mixing different types of grease). Each lubrication point should be filled until grease overflows (ensure adequate lubrication). Diesel model: Check whether the fuel pump and fuel line are unobstructed (you can manually pump fuel to remove air), and whether the exhaust pipe is blocked (clean carbon deposits). For electric models: Check if the charger is functioning properly (the indicator light needs to switch normally during charging), and if the cable is damaged (any damage should be repaired with insulating tape to prevent leakage). After completing all inspections and maintenance, it is necessary to conduct a trial run to confirm that the equipment is free of faults and avoid direct construction under load. Start the equipment (engine/motor), let it idle for 5 to 10 minutes, and observe whether the power system is stable (without abnormal noise or vibration) and whether there is any leakage in the hydraulic system. Test each action of the operation handle: walking (forward/backward, turning), lifting and lowering of the leveling scraper, and vibration of the vibrating beam. Ensure that the actions are smooth and without any lag. The laser control system can normally control the leveling height (for example, when the receiver detects the laser offset, the equipment can automatically adjust the height of the scraper). Lay a small amount of concrete (about 10-15cm thick) in an open area, start the equipment for leveling operation, and inspect: Whether the walking speed is uniform (no sudden fast or slow); Whether the vibration frequency of the vibrating beam is normal (no abnormal noise, no obvious honeycomb on the concrete surface); The flatness of the concrete surface after leveling (measured with a 2-meter straightedge, the error should be ≤3mm/2m, meeting the construction standards). During the trial operation, if any abnormality is detected (such as noise, leakage, or accuracy deviation), the machine must be stopped immediately and the fault rechecked. Refer to the equipment manual: The structure of laser leveling machine machines of different brands may vary. All inspections and maintenance should be based on the parameters in the equipment manual (such as hydraulic oil type, lubrication point position, torque value) to avoid misoperation. Pre-idle record: If conditions permit, a record should be made before the next idle period (such as the time of oil change and the status of components) to facilitate targeted inspection during the next activation. Safety precautions: During inspection and maintenance, the power source must be cut off (remove the key, disconnect the negative terminal of the battery) to prevent accidental start-up. Safety belts must be worn during high-altitude inspections (such as the installation of laser emitters) to prevent falls. Through the above steps, the potential risks of long-term idleness can be comprehensively eliminated, ensuring that the laser leveling machine machine performs stably and meets the precision standards after being reactivated, and avoiding rework or safety accidents caused by equipment failure during construction. Note: The parameters provided in this document are for reference only and are not mandatory. Due to differences in technical characteristics between different brands and models of laser levelers, please consult the manufacturer for a suitable solution before actual operation. This reference document assumes no responsibility for any issues arising from failure to follow the manufacturer's instructions.