Technical Knowledge
Laser leveling machine usage skills and material ratio
Laser leveling machine usage skills and material ratio
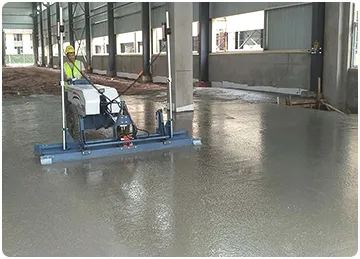
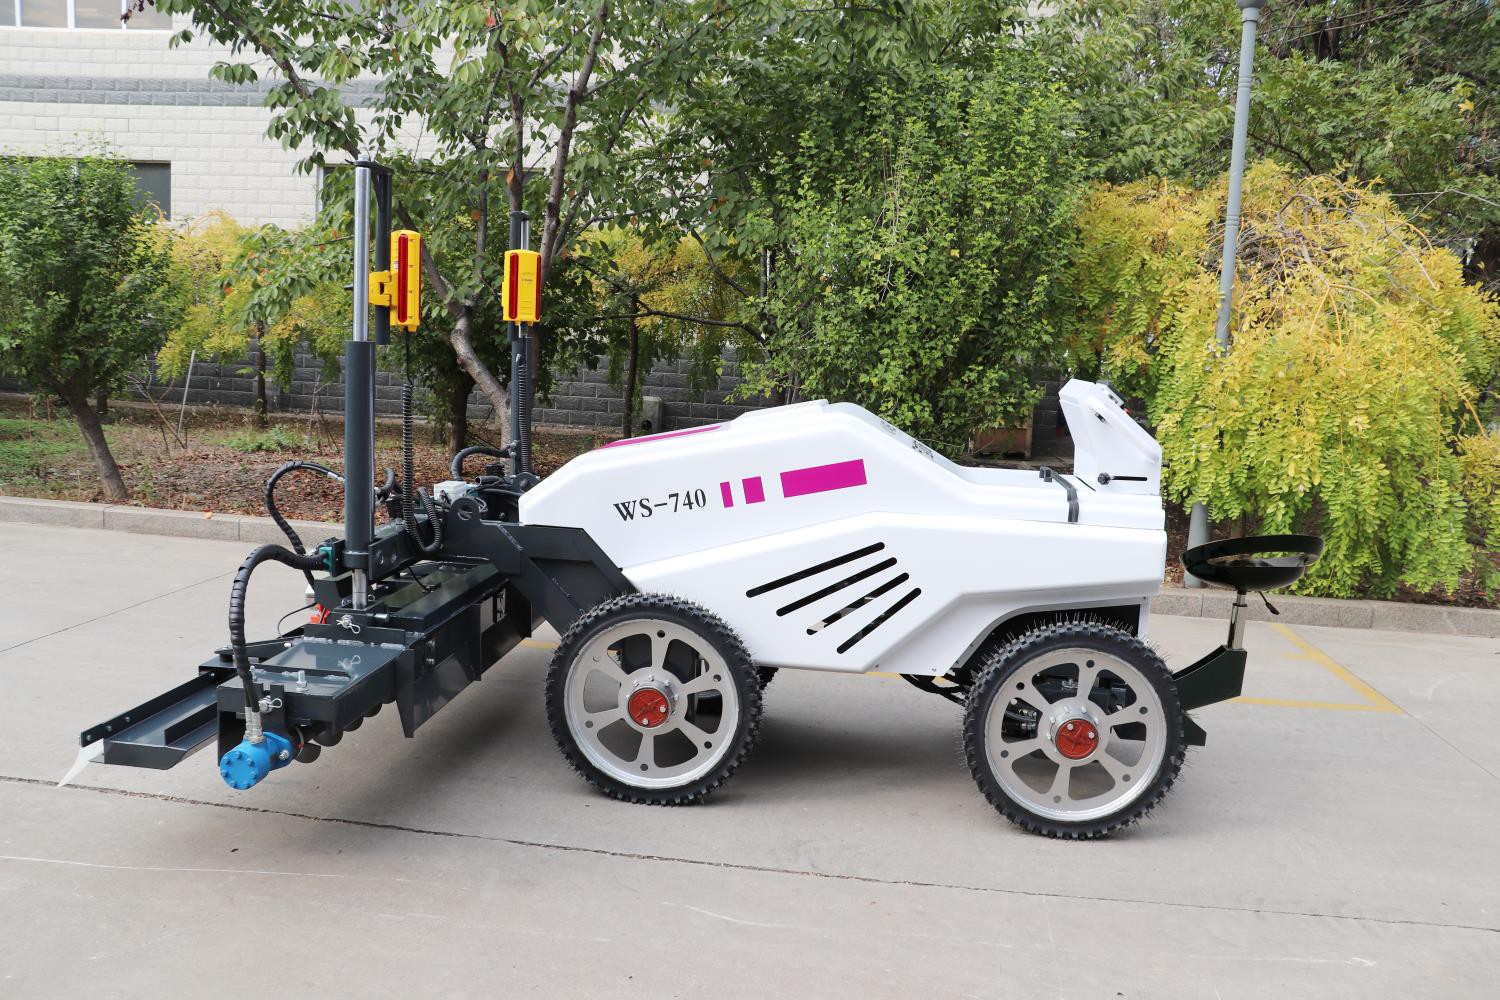
The traditional artificial road leveling technology gradually fades out of people's vision. In this era of rapid development, road surface laser leveling machines have brought unprecedented development prospects to road construction. Through human-machine cooperation, road leveling technology has reached a high level. . When using the laser leveling machine, of course, you must have certain computer operation skills, and you must also have certain small skills. After all, the fully intelligent robot laser leveling machine has not yet come out, and 12 years of professional production technology will explain how to use it for you. Tips for laser levelers.
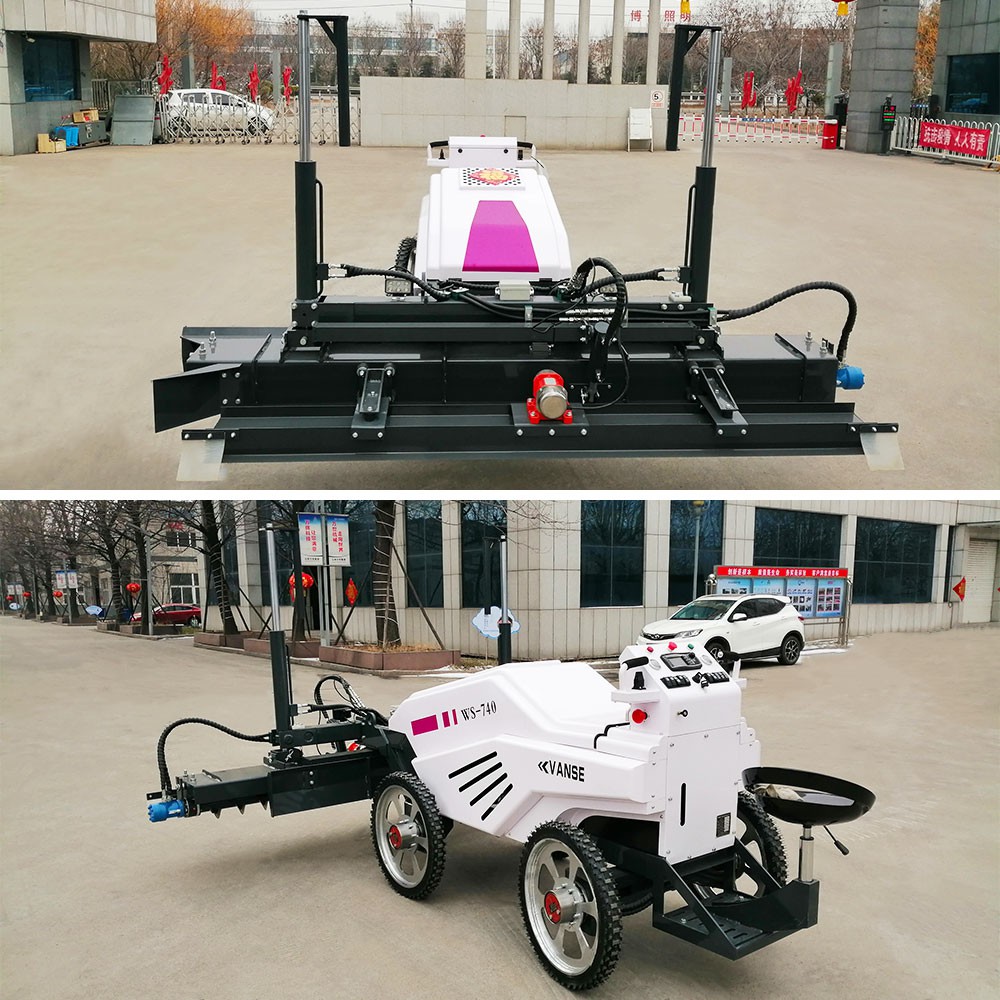
If you want to build roads with good quality, of course, you must pay attention to the choice of concrete. Concrete must be produced, conveyed or pumped to the flooring site by a commercial concrete production plant. Concrete specifications: C25~C30 concrete, the 28-day strength is not less than 25MPa, determined according to the design requirements.
Water-cement ratio: not more than 0.5, no water can be added during the feeding process.
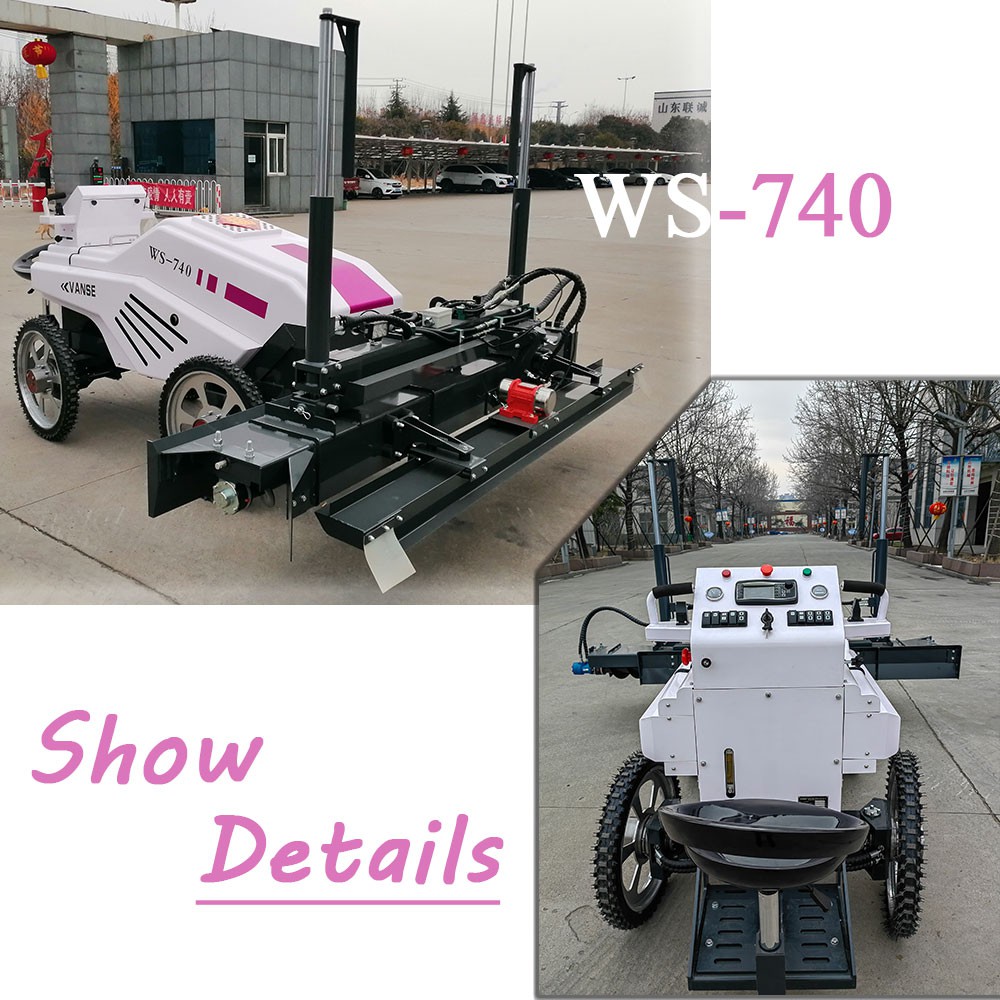
Cement: Use ordinary Portland cement with a grade of not less than 42.5. Aggregate: Well-graded aggregate should be used. Crushed granite or pebbles are used as coarse aggregate, and the maximum diameter is not more than 25mm. The fine aggregate is clean river sand with a fineness modulus of 2.4-2.7.
Concrete mix ratio: the amount of cement is not less than 350Kg/m3. In order to avoid surface quality problems, the sand rate should be controlled at 35% to 40%. Concrete slump: 14±2cm, maximum 16cm.
Setting time: The initial setting time should be controlled within 3-5 hours.
Thanks to All the Friends Who Support and Trust Shandong Vanse Machinery Technology Co., Ltd.
If you want to know more about Shandong Vanse Machinery Technology Co., Ltd. or have any questions, please feel free to contact us:
Our Factory
Shandong Vanse Machinery Technology Co., Ltd.








Share this article

About the Author: Shandong Vanse Machinery Technology Co., Ltd.
Shandong Vanse Machinery Technology Co., Ltd. is a high-tech manufacturer specializing in concrete construction machinery, including laser screeds and related equipment. The company integrates R&D, production, and global sales, with products exported to over 60 countries and widely used in infrastructure projects worldwide.
Previous Post
Next Post
Related Articles
You Might Also Like
Laser leveling Flooring – Shandong Vanse Machinery Technology Co., Ltd.
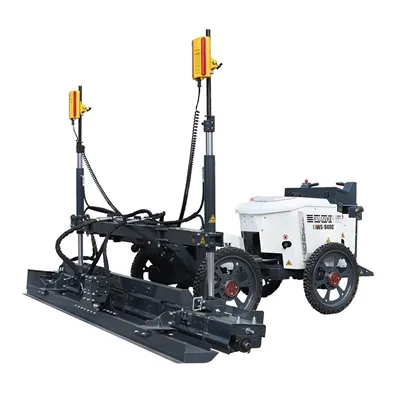
How do you make sure that a single, large, contiguous area of concrete floor is completely flat, completely level and without hollow drum, shelling, cracking and inequality on the ground? The answer is a laser leveling flooring. What is Laser leveling Concrete Flooring ? When you are in your own home and need to use concrete to pave a concrete area of one square meter or less, you only need to use nails and a strong string to achieve leveling, but when you need to level the entire room when paving a large area of the floor or even a garden, a laser concrete leveling machine is needed. You can see in the image below that the system comprises two components, a laser transmitter and a levelling machine. The laser transmitter is very similar to the laser system you see regularly being used on construction projects and public works. It transmits a laser beam across the area of the floor with exact precision. The levelling system consists of a laser sensor, a vibration unit and a scraper plate. The scraper plate is set at a fixed distance from the height of the laser sensor. The scraper is drawn across the freshly poured concrete levelling the surface with complete accuracy. The vibration unit follows behind making the concrete surface completely smooth.It improves the quality of floor. Effectively solve the problems of hollow drum, shelling, cracking and inequality on the ground, and the construction quality is more stable and smooth. There are two basic types of laser levelling machine; two wheeled walk behind system like DZ25-2/ DZ30-2/ WS25-2 laser leveling, or four wheeled, ride-on machine like the YZ25-4/ YZ28-4S/ WS-940/ WS980/ WS-740/ WS-840/ YZ25-4E laser leveling, ( Large telescopic arm type concrete laser leveling such as YZ40-4E, YZ40-4, YZ30-4, YZ27-4.) Our Product Advantages: A. Famous brand engine, brand quality assurance, superior performance, start easily. B. Gearbox large module design, aluminum alloy enclosure, free maintenance, long service life. C. Wipe the line-structure-light bracket, choose the strict heat treatment of large diameter carbon structural steel, strong and durable. D. Scientific design of the centrifugal clutch driving mechanism, transmission torque, long service life, maintenance is very convenient. E. Surface coating, rust corrosion.Large area floor laser leveling machine leveling construction method
•◆•◀ Foreword ▶•◆• With the rapid development of the construction industry, more and more attention has been paid to the flatness and construction quality of the floor. Traditional floor leveling methods, such as using hand tools such as scrapers and trowels, are not only inefficient but also difficult to ensure construction quality. In recent years, the emergence of laser leveling machines has brought revolutionary changes to floor leveling construction. This article will introduce in detail the leveling construction methods of large-area floor laser leveling machines, including its construction principles, advantages, and specific construction. Steps and precautions, etc. •◆•◀ Construction Principles ▶•◆• The large-area floor laser leveling machine uses the principle of laser ranging to emit a laser beam through a laser transmitter installed on the equipment. The laser beam is reflected by a reflector and then projected onto the ground to be leveled. After receiving the laser signal returned by the laser receiver, the laser receiver transmits the data to the control system. The control system adjusts the height and position of the leveler to the plate based on the received data, thereby achieving precise leveling of the floor. •◆•◀ Construction advantages of laser leveling machine ▶•◆• 1. High efficiency: The laser leveling machine can operate continuously, greatly shortening the construction period. 2. High precision: The laser leveling machine can ensure that the flatness of the floor meets high precision requirements and reduces the workload of post-processing. 3. Stable construction quality: The laser leveling machine reduces the impact of human factors on construction quality through an automated control system. 4. Wide scope of application: Laser leveling machine is suitable for various types of floor leveling operations, such as concrete, cement mortar, etc. •◆•◀ Specific construction steps ▶•◆• 1. Preparation before construction (1) Clean the construction area to ensure that there is no debris or water on the ground. (2) Check whether all equipment of the laser leveling machine is intact and ensure that the equipment can operate normally. (3) According to the design requirements, mark a horizontal line on the ground for reference in subsequent construction. 2.Construction process (1) Start the laser leveling machine and adjust the position and angle of the laser transmitter to ensure that the laser beam can be accurately projected onto the ground to be leveled. (2) Adjust the height and position of the scraper of the leveler to maintain an appropriate distance and angle from the ground. (3) Turn on the walking system of the leveling machine to make the leveling machine walk along the predetermined path. During walking, the laser receiver will continuously receive laser signals reflected from the ground and transmit the data to the control system. The control system adjusts the height and position of the scraper in real time based on the received data, thereby achieving precise leveling of the floor. (4) During the leveling process, attention should be paid to the leveling effect and the height and angle of the scraper should be adjusted in time to ensure the leveling quality. (5) After leveling is completed, turn off the laser leveling machine and clean the construction site to ensure that the construction area is clean and tidy. •◆•◀ Precautions ▶•◆• 1. During the construction process, the stability of the laser leveler should be ensured to avoid equipment shaking that would affect the leveling quality. 2. When adjusting the height and angle of the scraper, fine-tuning should be made according to the actual situation to avoid excessive adjustments that may cause the ground to appear wavy or uneven. 3. During the construction process, attention should be paid to observing the signal reception of the laser receiver to ensure that the laser signal can be accurately transmitted to the control system. 4. After leveling is completed, the construction site should be cleaned up in time to avoid damage to the floor caused by debris or water accumulation. •◆•◀ Conclusion ▶•◆• The leveling construction method of large-area floor laser leveling machine is an efficient and accurate construction method, which can greatly improve the leveling quality and construction efficiency of the floor. During the actual construction process, the construction unit should strictly follow the construction steps, pay attention to observing the construction effect and adjusting equipment parameters to ensure stable and reliable construction quality. At the same time, construction units should also strengthen safety management and environmental awareness at the construction site to ensure the safety and environmental protection of the construction process. With the continuous advancement of science and technology and the continuous improvement of building construction requirements, it is believed that laser leveling machines will play a more important role in future floor leveling construction.Comparison of wear resistance and service life of power trowel blades made of different materials (such as stainless steel and alloy)
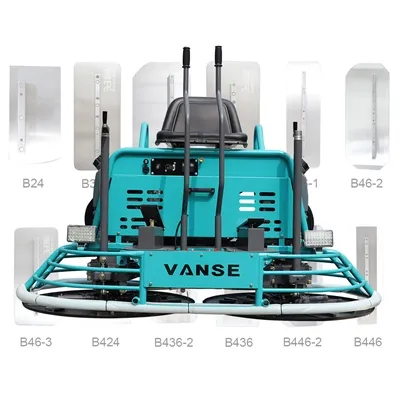
The blades of power trowel made of different materials have significant differences in wear resistance and service life, which directly affect the construction efficiency, cost and the final quality of the floor. Below, I will conduct a detailed comparative analysis of common stainless steel, alloy (usually referring to high-carbon alloy steel), and other material blades. Material type Wear resistance Service life Main advantages Main disadvantages Applicable scenarios High-carbon alloy steel Extremely high long It has extremely high hardness, is highly wear-resistant, has a long service life and is cost-effective. It has relatively low toughness and may crack when exposed to hard objects such as stones. Not rust-proof. The vast majority of ordinary cement concrete floors are the ideal choice for those who pursue efficiency and cost. Stainless steel Low to moderate short Absolutely rust-proof, corrosion-resistant and easy to clean. It has low hardness and poor wear resistance, and requires frequent replacement or grinding. In occasions with special rust prevention requirements, such as food factories, pharmaceutical factories, chemical laboratories, and humid environments. Tool steel/spring steel Medium Medium It has good toughness, is impact-resistant and not prone to chipping. Its wear resistance is not as good as that of high-carbon alloy steel and needs to be ground regularly. The ground conditions are poor and the base layer contains a lot of hard and miscellaneous stones. Tungsten carbide hard alloy Ultimate Extremely long It features extremely high hardness and wear resistance, with a service life several times that of alloy steel. It is extremely expensive, brittle and has poor impact resistance. Super-hard floors (such as aggregate wear-resistant floors, heavy-duty wear-resistant floors) and large-scale projects that pursue ultimate efficiency. Wear resistance and service life: This is currently the most widely used and best-performing material for power trowel machine blades on the market. By adding elements such as carbon, chromium and vanadium, and through special heat treatment processes (such as quenching + tempering), its surface hardness can reach above HRC 55-60. This hardness is sufficient to efficiently grind cement mortar and provide a very long service life. Advantages High hardness and high wear resistance: In normal concrete operations, it wears out slowly and has a long single service life. High cost performance: Moderate price, achieving the best balance between wear resistance and cost. Strong versatility: Suitable for over 90% of concrete floor construction. Disadvantage Not rust-proof: It needs to be kept dry; otherwise, it is prone to rust. It should be oiled for protection when idle. Brittleness: Although it has high hardness, its toughness is relatively insufficient. If there are hard objects such as stones that have not been cleaned up on the ground, the cutting edge of the blade is prone to "chipping", forming a notch and affecting the polishing effect. Wear resistance and lifespan: The core advantage of stainless steel lies in the passivation film provided by its chromium content, which endows it with excellent corrosion resistance. However, this characteristic usually comes at the expense of hardness. The hardness of common martensitic stainless steel is much lower than that of high-carbon alloy steel that has undergone special heat treatment. Therefore, its wear rate when grinding concrete is extremely fast, and its service life is significantly shorter than that of alloy blades. Advantages Absolute rust resistance: Completely resistant to water vapor and alkaline cement erosion, easy to clean and store. Hygiene: It will not contaminate the floor or products due to rust and meets the hygiene standards of specific industries. Disadvantage Poor wear resistance: This is its main shortcoming, which requires more frequent replacement or grinding, increasing downtime and blade costs. Low cost-effectiveness: Although the blade itself may not be expensive, due to its short lifespan, the overall usage cost is high. Tool steel/spring steel Greater emphasis is placed on toughness and fatigue strength. They can withstand greater bending and impact without breaking or chipping. Its wear resistance lies between that of stainless steel and high-carbon alloy steel. It is applicable to working conditions where the ground conditions are uncertain and there may be hidden hard objects. Tungsten carbide hard alloy blade The peak of wear resistance. It does not work on the steel substrate. Instead, it bonds extremely hard tungsten carbide particles together through metals such as cobalt, with a hardness of over HRA 90 (much higher than HRC). The service life is usually 5 to 10 times or even longer than that of high-carbon alloy steel. The drawback is that it is extremely expensive, usually more than ten times the price of alloy blades, and it is very brittle and highly sensitive to impact. It is usually welded to the cutting edge of ordinary alloy steel blades in the form of "wear-resistant blocks" or "hard alloy cutting heads", which not only ensures wear resistance but also controls cost and overall toughness For the vast majority of conventional concrete floor construction: High-carbon alloy steel blades are preferred. It strikes the best balance among wear resistance, lifespan and price, making it the most cost-effective choice. For special environments with strict hygiene and rust prevention requirements: Such as food processing plants, dairy factories, pharmaceutical factories, chemical plants, swimming pools, basements, etc., even if the stainless steel blades have a short lifespan, they must be used to prevent rust pollution and ensure the quality of the floor. For super wear-resistant floors with extremely poor ground conditions or containing a large amount of hard aggregates: Consider using alloy blades with tungsten carbide wear-resistant blocks. Although the initial investment is large, in the face of extreme wear environments, its extremely long service life can significantly reduce the frequency of blade replacement and downtime. From the perspective of the entire project cycle, it may be a more economical choice. How to further increase the lifespan of blades (regardless of material) : Correct operation: Start smoothing the concrete only after it has reached the appropriate initial setting period (about 3-5mm sunken when stepped on by a person). If it is done too early, the slurry will stick; if it is done too late, it will not be able to be ground smoothly, both of which will accelerate wear. Timely grinding: After use, the blade will become dull. Regularly grinding the cutting edge with an Angle grinder can restore its sharpness and effectively extend the total service life. Proper storage: After use, clean the clean water slurry, apply anti-rust oil to the alloy steel blades, and store in a dry place. Wear resistance and service life are not determined by a single "material", but are jointly determined by "material + heat treatment process". In the vast majority of cases, high-carbon alloy steel that has undergone good heat treatment is the best choice for power trowel blades. Stainless steel is irreplaceable in specific fields due to its unique anti-rust performance, but it needs to accept the disadvantage of its relatively poor wear resistance. For extreme working conditions, "king" grade tungsten carbide hard alloy blades can be considered. Note: The parameters provided in this document are for reference only and are not mandatory. Due to differences in technical characteristics between different brands and models of laser levelers, please consult the manufacturer for a suitable solution before actual operation. This reference document assumes no responsibility for any issues arising from failure to follow the manufacturer's instructions.