Technical Knowledge
What are some common troubleshooting steps for laser system failures?
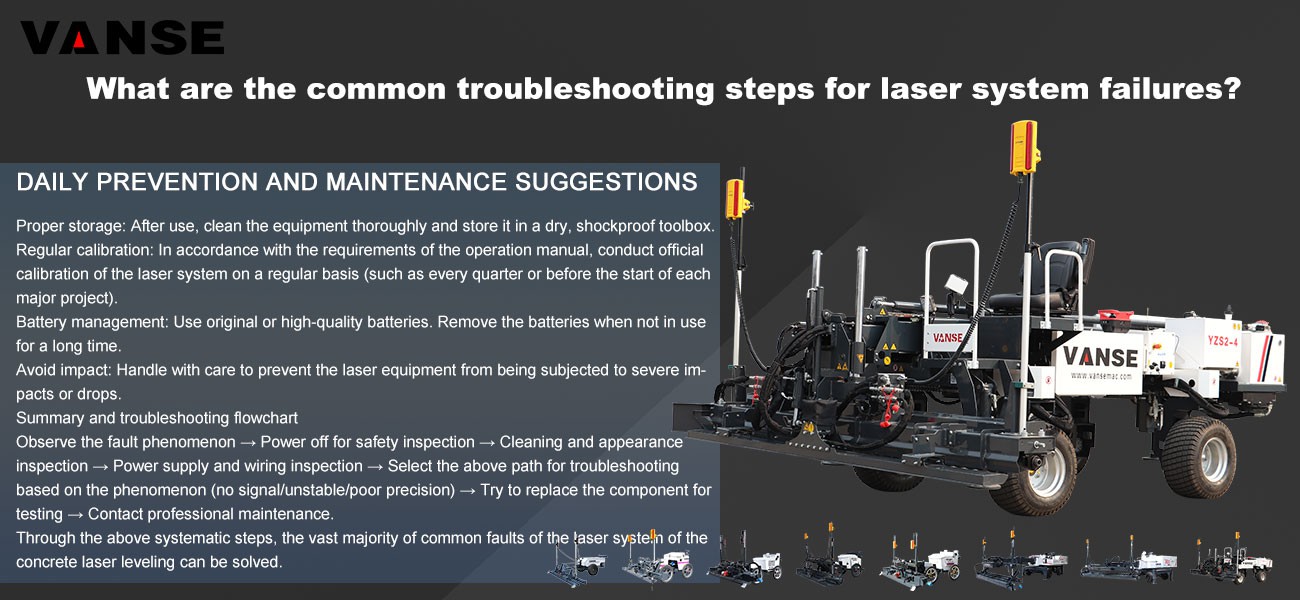
The laser system of the concrete laser leveling is the core for achieving high-precision screing. Once a malfunction occurs, it will lead to a decrease in the leveling accuracy and affect the construction quality. The following are systematic and common troubleshooting steps. It is recommended to follow the principle of "from simple to complex and from outside to inside".
Step 1: Safety inspection and preliminary inspection
Stop the machine immediately: Turn off the leveling machine and make sure the laser emitter is also turned off to prevent the laser from causing harm to the eyes.
Check the power supply
Confirm whether the battery power of the laser transmitter and receiver is sufficient. Low battery power can cause unstable signals.
Check all cables and plugs for any damage, looseness or poor contact (especially the connection line between the receiver and the main unit of the leveler).
Cleaning and visual inspection:
Laser receiver: Clean its sensing panel to ensure there is no cement slurry, dust or oil stains covering it.
Laser emitter: Clean the emission window to ensure the lens is clean.
Mast/Benchmark: Check whether the mast on which the receiver is installed is vertical, stable and free from deformation.
Step 2: Classification of fault phenomena and targeted troubleshooting
A. Fault phenomenon: The receiver does not respond (does not display A signal or always shows "Find light")
Confirm the status of the transmitter
Make sure the laser emitter is turned on and in the rotating (sweeping) mode. Check if it is level (observe the bubble level it comes with).
Listen to the sound and observe: During normal operation, there should be the sound of the motor rotating, and a moving red dot can be seen on the obstacle when the laser beam appears.
Height and position inspection
Height: Ensure that the receiver is within the effective working height of the laser plane (usually, the laser plane is best at the middle position of the receiver's sensing rod). If the receiver is too high or too low, no signal will be received.
Location: Move the receiver directly near the laser emitter to see if there is a signal. If it is present near but not far away, it might be that the laser plane is blocked or the emitter is not level.
Interference screening
Check whether there is strong direct sunlight, other laser equipment or strong light source interference in the work area. Try to cover the receiver with a light shield.
Equipment replacement test (if conditions permit) :
Test with a confirmed normal receiver, or take the faulty receiver to another normally working transmitter for testing. This can quickly determine whether the fault point is the transmitter or the receiver.
B. Fault phenomenon: Unstable signal (frequent jumps in display values, frequent lifting and lowering of the machine)
Inspect the ground and foundation
Is the laser emitter tripod set up on a solid and stable ground? The vibration or subsidence of the ground during the pouring process can cause the launcher to shake.
Check whether the leveling machine itself shakes violently when moving.
Check the mechanical connections
Is the connection between the receiver and the mast, as well as the connection between the mast and the body of the leveling machine, firm? Any loosening will cause signal jitter.
Check whether the connection hydraulic cylinder/hinge point between the scraper or rammer plate of the leveling machine and the body is too loose, causing free travel.
Electrical interference
Lay the cables of the laser system separately from the main power line and hydraulic line of the leveling machine to avoid parallel and close contact, so as to reduce electromagnetic interference.
Environmental review
Is there a large amount of dust and steam in the air? These will scatter laser, causing the signal to weaken and become unstable. High-temperature heat waves can also cause light refraction.
C. Fault phenomenon: Continuous deviation of leveling accuracy (normal display but incorrect actual elevation)
Calibration check (the most common cause) :
Transmitter calibration: Use the dedicated calibration tool provided randomly and follow the steps in the manual to check and calibrate the horizontal accuracy of the laser transmitter itself. This is the most crucial step.
Receiver zero point calibration: At a reference point of known height (such as a pre-set reference post), perform the operation of "zeroing" the receiver or setting the reference height.
Reference point and setting check
Recheck whether the construction reference point (elevation) is accurate and whether the height set on the transmitter is correct.
Confirm whether the mode selected on the control panel of the leveling machine (such as the "Leveling" mode) is correct.
Mechanical system linkage inspection
After the laser system gives the correct signal, check whether the hydraulic lifting system of the leveling machine responds promptly and accurately. Are there any problems such as clogged hydraulic valves or leakage inside the cylinder? The lifting action can be manually operated to test whether it is smooth and powerful.
Step 3: Advanced Diagnosis and professional maintenance
If none of the above steps can solve the problem, it may involve an internal fault:
Internal electronic failure
Transmitter: Internal level sensor failure, motor drive module damage, laser tube aging, etc.
Receiver: Damaged sensing element, mainboard failure, etc.
Professional maintenance
Contact the equipment supplier or professional maintenance personnel. Provide detailed fault phenomena and the troubleshooting steps that have been taken.
Do not disassemble the core components of the laser emitter or receiver by yourself, especially since the laser emitter has precise optical components and high-precision sensors inside. Non-professional disassembly may lead to permanent damage or calibration failure.
Daily prevention and maintenance suggestions
Proper storage: After use, clean the equipment thoroughly and store it in a dry, shockproof toolbox.
Regular calibration: In accordance with the requirements of the operation manual, conduct official calibration of the laser system on a regular basis (such as every quarter or before the start of each major project).
Battery management: Use original or high-quality batteries. Remove the batteries when not in use for a long time.
Avoid impact: Handle with care to prevent the laser equipment from being subjected to severe impacts or drops.
Summary and troubleshooting flowchart
Observe the fault phenomenon → Power off for safety inspection → Cleaning and appearance inspection → Power supply and wiring inspection → Select the above path for troubleshooting based on the phenomenon (no signal/unstable/poor precision) → Try to replace the component for testing → Contact professional maintenance.
Through the above systematic steps, the vast majority of common faults of the laser system of the concrete laser leveling can be solved.
Note: The parameters provided in this document are for reference only and are not mandatory. Due to differences in technical characteristics between different brands and models of laser levelers, please consult the manufacturer for a suitable solution before actual operation. This reference document assumes no responsibility for any issues arising from failure to follow the manufacturer's instructions.
Thanks to All the Friends Who Support and Trust Shandong Vanse Machinery Technology Co., Ltd.
If you want to know more about Shandong Vanse Machinery Technology Co., Ltd. or have any questions, please feel free to contact us:
Our Factory
Shandong Vanse Machinery Technology Co., Ltd.








Share this article

About the Author: Shandong Vanse Machinery Technology Co., Ltd.
Shandong Vanse Machinery Technology Co., Ltd. is a high-tech manufacturer specializing in concrete construction machinery, including laser screeds and related equipment. The company integrates R&D, production, and global sales, with products exported to over 60 countries and widely used in infrastructure projects worldwide.
Previous Post
Next Post
Related Articles
You Might Also Like
Environmental protection standards for concrete laser leveling machine construction sites
🎯 Noise pollution control – **Site boundary noise standard**: Implement the "Environmental noise emission standard for construction site boundaries" (GB12523-2011), the daytime noise limit is 70 decibels, and the night limit is 55 decibels. – **Equipment noise control**: Give priority to low-noise laser levelers and supporting equipment, regularly maintain the equipment to ensure that the equipment is in good operating condition, and reduce abnormal noise caused by equipment failure and other reasons. 🎯 Air pollution prevention and control – **Dust control**: The construction site should be fenced with a height of not less than 2 meters to reduce the spread of dust. Cover the raw materials of concrete such as sand and gravel to avoid dust generated by open-air stacking. In dry weather or when performing operations that are prone to dust, measures such as spray dust reduction should be taken, such as using sprinklers, sprayers and other equipment to spray water and dust reduction on the construction site. – **Exhaust emission**: The exhaust emission of various fuel machinery and equipment used in construction, such as concrete laser leveling machines, transport vehicles, etc., shall comply with the emission standards stipulated by the state and local governments. 🎯 Water pollution prevention and control – **Wastewater treatment**: Sedimentation tanks, sewage wells and other wastewater treatment facilities should be set up at the construction site. The wastewater from the cleaning of the concrete laser leveling machine and the oily wastewater generated by equipment maintenance must be treated and discharged after meeting the standards. – **Water resource utilization**: A rainwater collection system is established. The collected rainwater can be used for concrete maintenance, dust reduction, etc., to improve the utilization rate of water resources. 🎯 Solid waste management – **Classified storage**: Construction waste generated during the construction process, such as concrete scraps, discarded formwork, etc., should be stored in a classified manner. – **Timely removal**: Construction waste should be transported to designated waste disposal sites for treatment on a regular basis. It is strictly forbidden to discard or dump it at will. – **Resource utilization**: Recyclable solid waste, such as scrap steel and wood, should be recycled and reused to improve resource utilization. 🎯 Soil pollution prevention and control – **Oil and chemical management**: Oil and chemicals used in construction should be properly stored to prevent leakage and soil contamination. – **Site cleaning**: After the construction is completed, the construction site will be fully cleaned, and the remaining concrete, oil and other pollutants will be cleaned up, and the contaminated soil will be repaired or replaced. 🎯 Ecological environment protection – **Vegetation protection**: Before construction, the vegetation in the construction area will be evaluated, and the damage to important vegetation will be avoided as much as possible, and transplanted when necessary. – **Ecological restoration**: After the construction is completed, ecological restoration will be carried out in a timely manner, and the construction site will be leveled and greened as required, and local plants will be planted to restore the ecological environment before construction.How does a concrete laser screed machine achieve efficient concrete vibration and compaction?
Concrete laser leveling machines achieve efficient concrete compaction through vibration, primarily through the coordinated design of their integrated vibrating system and levelinging process. The core principle is to ensure that the concrete reaches a dense state before initial setting through high-frequency vibration energy transmission, combined with precise laser positioning control. This is achieved as follows: The machine's base is typically equipped with multiple vibrating rods (or blades), which are driven by hydraulics or motors to generate high-frequency vibrations (typically 2,000-5,000 vibrations per minute) . This high-frequency vibration rapidly transmits to the unset concrete, forcing out air bubbles and realigning aggregate particles, filling gaps and reducing defects such as honeycombing and rough surfaces. The vibrating device can be adjusted in depth (typically 0-300mm) based on the concrete thickness, ensuring that the vibration energy reaches the bottom of the concrete, avoiding excessive vibration of the surface layer while leaving deeper layers undercompacted. The vibration range matches the paving width of the leveling machine, operating synchronously with the machine's movement, achieving an integrated "paving-vibration-leveling" process and reducing efficiency losses caused by time-to-step intervals. The laser system provides a horizontal reference, ensuring the surface flatness of the vibrated concrete meets requirements. During the vibration process, the machine's hydraulic leveling mechanism adjusts the height of the vibrator in real time to avoid uneven surface fluctuations caused by uneven vibration force, ensuring both density and paving the way for subsequent leveling. For concretes with different slumps (such as dry hard concrete and plastic concrete), the control system adjusts the vibration frequency and amplitude: Concrete with a lower slump requires a higher frequency to break down friction between aggregates; concrete with a higher slump requires a lower frequency to avoid segregation caused by excessive vibration. In summary, its high efficiency is reflected in its concentrated vibration energy, matching operating range, and seamless integration with the leveling process. Furthermore, its adjustable parameters adapt to diverse construction requirements, ultimately ensuring both concrete density and surface accuracy.